
Water dripping from your air conditioner is one of the most common HVAC problems homeowners face. AC units leak water due to clogged drain lines, dirty air filters, frozen coils, or damaged drain pans, and most issues can be fixed with simple steps or professional help.
The good news is that water leaks don't always mean expensive repairs. Many causes can be solved quickly at home with basic tools and cleaning supplies. However, knowing when to tackle the problem yourself versus calling a professional can save both money and prevent bigger issues down the road.
This guide covers everything needed to stop the drip, determine repair costs, and keep the AC running smoothly without future leaks.
Here’s what you need to know:
- Why your AC is leaking water
- What to do right now to stop the drip
- DIY vs professional AC leaking fix
- AC leak repair costs and what affects the price
- How to prevent the next leak
Understanding why the leak happened and taking immediate action helps protect the home from water damage.
Why your AC is leaking water
Water leaks from air conditioners happen when the normal drainage system fails or gets blocked. The most common causes involve clogged drain lines, frozen coils, damaged drain pans, or improper installation that prevents water from draining correctly.
Clogged condensate drain line and algae buildup
The condensate drain line carries water away from your AC unit after it removes moisture from the air. This line can get blocked with dust, dirt, and algae that grows in the moist environment.
When the drain line clogs, water backs up and overflows from the system. The blockage usually happens at bends in the pipe or where debris collects over time.
According to ENERGY STAR, you should check and clear the AC condensate drain because a plugged drain can cause water damage in the house and affect indoor humidity levels.
Signs of a clogged drain line:
- Water pooling around the indoor unit
- Musty odors from the vents
- High humidity levels in your home
- Water stains on walls or ceilings
Algae grows naturally in the warm, wet conditions inside drain lines. This green slime combines with dust and creates thick blockages that stop water flow completely.
The problem gets worse during peak cooling season when your AC runs more often and produces more condensation.
Frozen evaporator coil from poor airflow or low refrigerant
Evaporator coils freeze when they get too cold, which happens from restricted airflow or low refrigerant levels. When frozen coils thaw, they release large amounts of water that can overwhelm the drain system.
Poor airflow causes include:
- Dirty air filters that block air movement
- Closed vents in rooms
- Blocked return air grilles
- Damaged ductwork
Low refrigerant levels make coils freeze because the system cannot absorb heat properly. This creates an ac leak situation where refrigerant escapes from damaged lines or connections.
A refrigerant leak in ac systems requires professional repair. The technician must find the leak, fix it, and refill the system with the correct amount of refrigerant.
Frozen coils also damage the compressor if the problem continues. Ice blocks airflow and forces the system to work harder than designed.
Cracked or overflowing drain pan
The drain pan sits under your indoor unit and catches condensation that drips from the evaporator coil. Over time, these pans crack from age, rust, or damage from maintenance work.
Common drain pan problems:
- Cracks in plastic or metal pans
- Rust holes in older metal pans
- Pan pulled out of position during service
- Overflow from other drainage issues
Plastic pans become brittle after years of temperature changes. Metal pans rust from constant moisture exposure, especially in humid climates.
Even undamaged pans overflow when drain lines clog or when the system produces more water than normal. This happens during very humid weather or when the AC runs constantly.
An unlevel or improperly installed unit that won't drain
AC units must sit level so water flows toward the drain connections. Units that tilt the wrong way cause water to pool in areas where it cannot drain properly.
Installation problems that cause leaks:
- Unit tilted away from drain connections
- Drain lines installed with upward slopes
- Missing or damaged drain fittings
- Inadequate support causing settling
Foundation settling shifts outdoor units over time. Indoor units mounted on walls can sag if brackets loosen or wall materials weaken.
Improper drain line installation creates high spots where water gets trapped. The line should slope continuously downward from the unit to the outside drain point.
New installations sometimes skip important steps like testing drain flow or securing all connections properly.
What to do right now to stop the drip
When water starts dripping from an AC unit, homeowners need to act fast to prevent damage to floors and ceilings. The most effective immediate solutions involve shutting down the system and clearing blocked drainage components.
Turn the system off and protect ceilings and floors
Turn off the AC unit immediately when water actively drips inside the home. This prevents more water from building up in the system.
Switch off the thermostat first. Then locate the circuit breaker for the AC unit and flip it to the off position.
Place towels and buckets under any dripping areas. This protects floors from water damage and prevents slipping hazards.
Move furniture and electronics away from the leak area. Water can cause expensive damage to these items in just minutes.
Check the ceiling for water stains or sagging. If the ceiling shows signs of water damage, contact a professional right away. Sagging ceilings can collapse without warning.
Clear the drain line safely with a wet/dry vac or cleanout port
Locate the condensate drain line outside the home. This is usually a white PVC pipe near the outdoor unit.
A wet/dry vacuum works best for clearing clogs. Attach the vacuum hose to the end of the drain line outside.
Run the vacuum for 2-3 minutes to pull out debris and standing water. This removes most common blockages that cause indoor leaks.
Some units have a cleanout port near the indoor unit. Remove the cap and use the vacuum on this opening instead.
Pour one cup of white vinegar down the drain line after vacuuming. This helps dissolve any remaining buildup and prevents future clogs.
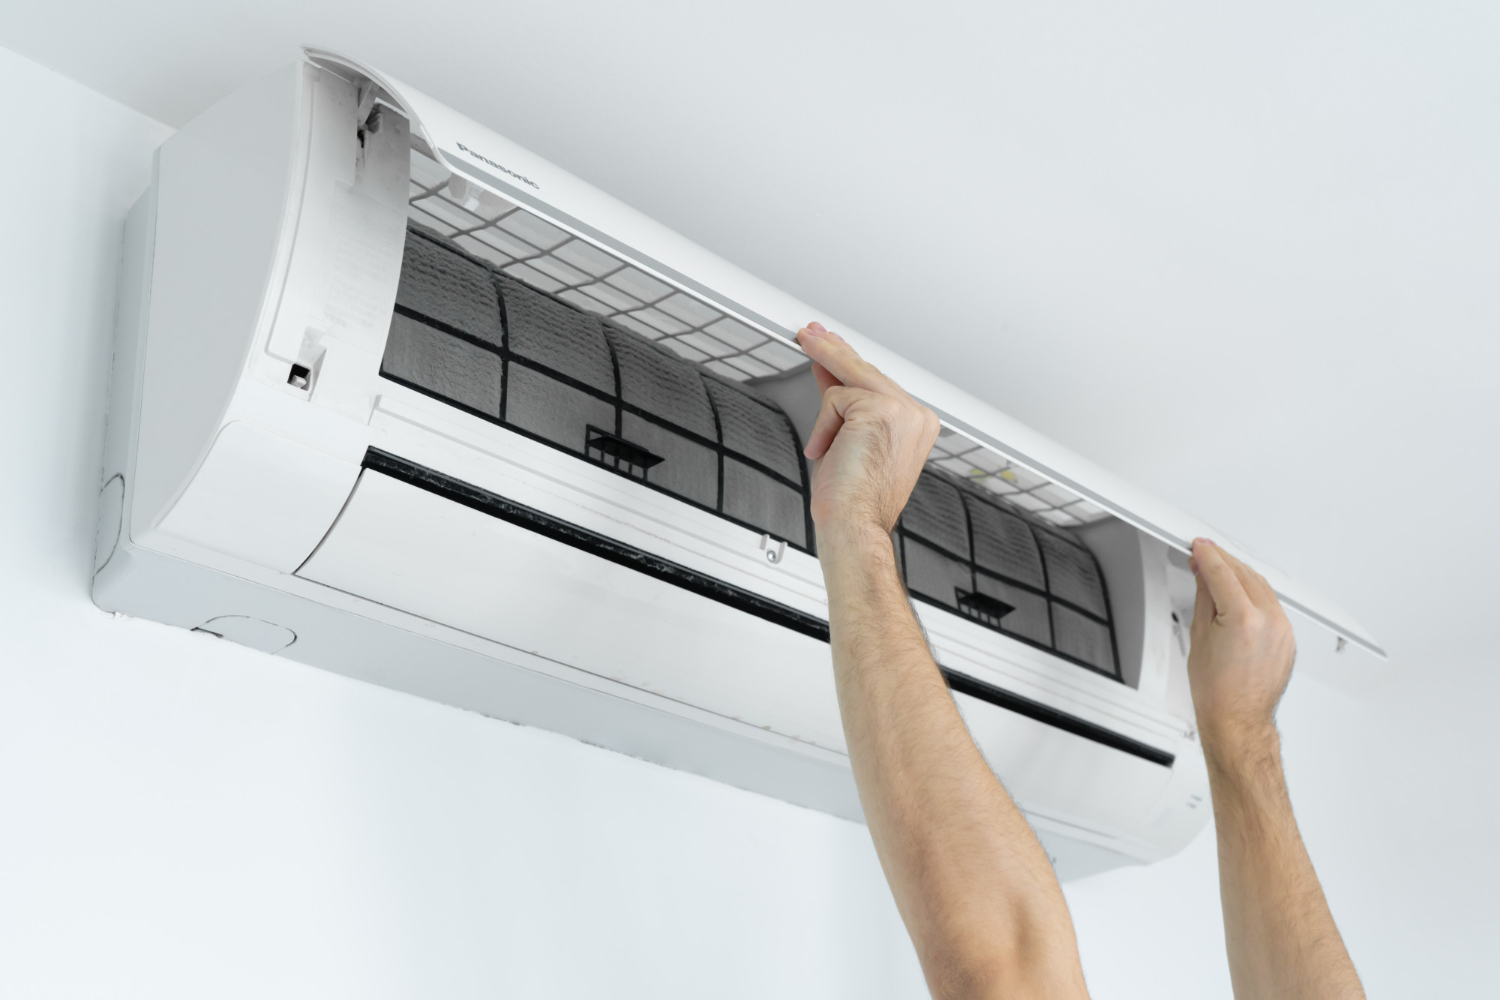
Swap a dirty filter to restore airflow
Check the air filter inside the indoor unit or return air vent. A dirty filter blocks airflow and causes ice to form on the coils.
Remove the old filter and hold it up to a light. If light cannot pass through easily, the filter needs replacement.
Install a new filter with the correct size and direction. Look for arrows on the filter frame that show airflow direction.
Most filters need replacement every 1-3 months. Write the installation date on the filter frame to track when to change it next.
Restricted airflow from dirty filters is one of the top causes of AC water leaks. This simple fix prevents many future problems.
When a brief restart is okay and when it isn't
Wait at least 30 minutes after clearing the drain and changing the filter before restarting the system. This allows any remaining water to drain properly.
Turn the system back on and monitor it for 15-20 minutes. Look for signs of continued dripping or unusual sounds.
Do not restart the AC if water continues dripping after clearing the drain line. This indicates a more serious problem that needs professional repair.
Call an HVAC technician if the system freezes up again within a few hours. Repeated freezing means the underlying cause was not fixed.
Signs that require professional help include refrigerant leaks, damaged drain pans, or disconnected drain lines. These problems cannot be safely fixed by homeowners.
DIY vs professional AC leaking fix
Some water leaks can be fixed quickly by homeowners, while others need trained technicians to prevent bigger problems. The key is knowing which repairs are safe to attempt and when refrigerant issues require professional tools.
Simple homeowner steps you can try in minutes
Check the drain pan first. Look under the indoor unit for a metal or plastic pan that catches water. If it's full or cracked, empty it and replace damaged pans.
Clear clogged drain lines next. Find the PVC pipe near your indoor unit. Pour a cup of white vinegar down the drain line to break up buildup.
Wait 30 minutes, then flush with water. Many leaks stop immediately after this simple fix.
Replace dirty air filters that block airflow. Clogged filters make coils freeze, then leak water when they melt. New filters cost $5-15 and slide in easily.
Clean around the outdoor unit too. Remove leaves, dirt, and debris that block drainage holes at the bottom of the unit.
Check if the float switch works. Some units have a small plastic float in the drain pan. If it sticks, the system shuts down to prevent flooding. Gently move the float up and down to test it.
These basic steps fix most common water leaks without tools or technical knowledge.
When an AC leak points to a refrigerant issue
Low refrigerant causes coils to freeze, then leak water when ice melts. This creates puddles but isn't actually a water leak problem.
You'll see ice on copper lines or the indoor coil. The system blows warm air even though it runs constantly.
Only licensed technicians can handle refrigerant. They need special tools to test pressure levels and add refrigerant safely. DIY refrigerant work is illegal in most areas.
According to the U.S. EPA (Section 608), technicians who maintain, service, repair, or dispose of equipment that could release refrigerant must be EPA-certified, another reason refrigerant leak in AC issues aren’t DIY.
Refrigerant leaks often mean bigger problems. Coils might have holes from corrosion or damage. The system may need major repairs or replacement parts.
Attempting DIY fixes on refrigerant issues can damage expensive components. It also voids most manufacturer warranties completely.
Signs you need professional help include frozen coils, hissing sounds from copper lines, or sweet chemical smells near the unit.
Why AC leak repair from a pro prevents repeat damage
Professional diagnosis finds root causes that homeowners often miss. Technicians use pressure gauges, leak detectors, and other specialized tools to identify problems accurately.
They check drain line slopes, test electrical components, and measure refrigerant levels. This prevents the same leak from returning weeks later.
Warranty protection stays intact when professionals do the work. Many AC manufacturers void coverage if untrained people attempt repairs on refrigerant systems or electrical parts.
Licensed techs follow safety codes for electrical work and refrigerant handling. They know which repairs need permits and inspections in your area.
Professional repairs often cost less long-term. A $150 service call prevents thousands in damage from repeated flooding or frozen coils.
Technicians also spot other issues early, like failing drain pumps or corroded coils, before they cause expensive breakdowns.
AC leak repair costs and what affects the price
AC leak repair costs range from $125 to $1,600, with most repairs falling around $650. The final price depends on whether you need a simple drain cleaning or major parts replacement.
Quick drain clears versus parts replacement
Simple drain clogs are the cheapest water leak fixes. A basic drain line cleaning costs between $125 and $300.
Most technicians can clear these blockages in under an hour. They use special tools to remove algae, dirt, and debris from the condensate drain.
Parts replacement gets more expensive:
- Drain pan replacement: $200-$400
- Condensate pump repair: $250-$500
- Evaporator coil issues: $600-$1,200
The location of the leak affects labor costs too. Hard-to-reach components take more time to fix. Indoor units in tight spaces cost more to repair than outdoor units.
Age matters for parts availability. Older systems need custom or specialty parts that cost more.
What a refrigerant check or recharge might add
Water leaks sometimes happen alongside refrigerant problems. A refrigerant leak check adds $150 to $300 to the total bill.
Refrigerant services increase costs:
- System pressure test: $100-$200
- Leak detection: $200-$400
- Refrigerant recharge: $300-$800
Small refrigerant leaks cost $200 to $500 to fix. Large leaks that need coil replacement can reach $1,000 or more.
R-410A refrigerant costs less than older R-22 systems. Older systems using R-22 refrigerant face higher recharge costs because the refrigerant is being phased out.
Signs the repair is getting expensive—and why
Multiple leak sources drive up costs fast. Water damage to electrical parts creates safety issues that need immediate fixes.
Warning signs of expensive repairs:
- Frozen evaporator coils
- Electrical component damage
- Multiple system failures
- Extensive ductwork problems
Quotes over $1,200 often mean major component failure. At this point, replacement might make more sense than repair.
Emergency service calls cost 50% to 100% more than regular appointments. Weekend and holiday repairs add premium charges to the base price.
Systems over 10 years old with major leaks often need multiple repairs within months of each other.
How to prevent the next leak
Regular maintenance and simple preventive steps can stop most water leaks before they start. Clean filters, clear drain lines, and proper system positioning are the main ways to avoid future problems.
Monthly filter changes and routine AC maintenance
Dirty air filters block airflow and cause the evaporator coil to freeze. When the ice melts, excess water can overflow the drain pan and leak inside the home.
Change filters every 30 days during peak cooling season. Check filters monthly even in mild weather. A clogged filter forces the AC to work harder and creates more condensation than the drainage system can handle.
Schedule professional maintenance twice per year. Spring tune-ups prepare the system for heavy summer use. Fall maintenance cleans components and checks for wear before the next season.
Professional technicians inspect drain pans for cracks and test drainage flow. They also clean evaporator coils and check refrigerant levels. These steps prevent the main causes of water leaks.
Drain line tablets and seasonal flushes to stop algae
Algae and bacteria grow in warm, moist drain lines during summer months. This buildup blocks water flow and causes backups that lead to leaks.
Use drain line tablets designed for AC systems. Drop one tablet into the drain pan or access port monthly during cooling season. The tablets slowly dissolve and kill algae growth.
Flush drain lines with a vinegar solution twice per year. Mix one cup of white vinegar with one cup of water. Pour the mixture into the drain line slowly. Wait 30 minutes, then flush with clean water.
Clear visible clogs with a wet vacuum. Attach the hose to the outdoor drain line exit. Run the vacuum for 2-3 minutes to pull out debris and standing water.
Insulation and leveling checks that improve drainage
Poor insulation on refrigerant lines creates extra condensation that overwhelms drain systems. The indoor unit must also be level for proper water flow.
Check pipe insulation around refrigerant lines inside the home. Replace any damaged or missing foam insulation. Gaps allow warm air to contact cold pipes and create water droplets.
Verify the indoor unit sits level from front to back and side to side. Use a standard bubble level on top of the unit. The drain end should be slightly lower than the evaporator end.
Inspect ductwork for air leaks near the indoor unit. Seal gaps with duct tape or mastic. Air leaks change humidity levels and increase condensation inside the system.
Need fast help today? Gary Air Solutions can fix the leak and tune your system
Water damage gets worse every hour a leak continues. Gary Air Solutions provides same-day AC repair service to stop leaks and prevent costly damage to floors and walls.
Their certified technicians carry drain cleaning tools and replacement parts on every service truck. Most water leak repairs take 1-2 hours to complete.
Call Gary Air Solutions for emergency leak repair or to schedule preventive maintenance. They offer upfront pricing and warranty all repair work for customer peace of mind.
Conclusion
Fixing an AC water leak requires the right approach based on the specific cause. Most homeowners can handle simple issues like cleaning clogged drain lines or replacing dirty air filters.
Turn off the unit immediately when water actively leaks to prevent further damage. This protects both the AC system and the surrounding area from water damage.
Professional help becomes necessary for complex problems. Issues like refrigerant leaks, damaged drain pans, or electrical components require trained technicians.
Repair costs vary widely from $75 to $1,600 depending on the problem's complexity. Simple drain cleaning costs much less than major component replacement.
Units under 10 years old with minor leaks are usually worth repairing. Older systems with multiple issues may need replacement instead.
Regular maintenance prevents most water leaks. Changing filters monthly and scheduling annual tune-ups keeps drain lines clear and components working properly.
Quick action saves money and prevents extensive water damage. Identifying the leak source early leads to faster repairs and lower costs.
Schedule a same-day AC leaking water repair with Gary Air Solutions—book now for a diagnostic, drain-line clearing, and a written estimate for any needed parts or refrigerant service.
