
Getting a new air conditioner installed can feel overwhelming if you don't know what to expect. At Gary Air, our professional AC installation process follows a clear step-by-step approach that takes you from the initial consultation through final clean-up, ensuring your new system is properly sized, installed, and ready to keep your home comfortable for years to come.
We understand that investing in a new air conditioning system is a big decision. That's why we walk you through every part of the process, from assessing your home's specific needs to testing your new equipment.
Our team handles everything from selecting the right equipment for your space to making sure your home is left clean and your system is running perfectly. You'll know exactly what happens at each stage so you can feel confident about your investment.
Initial Consultation and Home Assessment
The first step begins with a detailed evaluation of your home's cooling requirements and layout. We examine different air conditioning system options while discussing energy efficiency ratings that match your needs and budget.
Evaluating Cooling Needs and Home Layout
We start by measuring your home's square footage and examining each room that needs cooling. Our technicians check ceiling heights, window sizes, and insulation levels.
We also look at how sunlight enters your home throughout the day. South-facing rooms often need more cooling power than north-facing spaces.
Key factors we assess:
- Room sizes and layout
- Insulation quality
- Window placement and size
- Existing ductwork condition
- Heat sources like appliances
We calculate the cooling load using industry standards. This tells us exactly how much cooling power your AC unit needs to keep your home comfortable.
Exploring AC Unit Options and Energy Efficiency
We present different air conditioning system types that fit your home's needs. Central air systems work well for whole-house cooling, while ductless units suit specific rooms.
SEER ratings measure energy efficiency. Higher SEER ratings mean lower energy bills but cost more upfront.
SEER Rating
Efficiency Level
Best For
14-16
Standard
Budget-conscious buyers
17-20
High
Energy savings focus
21+
Premium
Maximum efficiency
We explain how each AC unit option affects your monthly energy costs. We also discuss features like variable-speed motors and smart thermostats.
Discussing Budget, Timeline, and Warranty Coverage
We provide detailed pricing for equipment and installation work. Our estimates include permits, materials, and labor costs with no hidden fees.
Installation timeline depends on your AC unit type and home setup. Most installations take one to two days for standard systems.
We review warranty coverage for both parts and labor. Manufacturer warranties typically cover equipment for 5-10 years. Our installation work includes a separate warranty for peace of mind.
We discuss payment options and help you understand rebates or tax credits available for energy-efficient systems.
Proper Sizing and Equipment Selection
Getting the right size AC unit starts with detailed load calculations and ductwork inspections. We then help you choose between central air conditioning, ductless mini-split systems, or other options based on your home's specific needs.
Load Calculation and Ductwork Inspection
We perform detailed load calculations to determine the exact cooling capacity your home needs. This process goes beyond simple square footage measurements.
Our technicians measure your home's insulation levels, window sizes, and ceiling heights. We also check how much sun hits different rooms throughout the day.
Key factors we evaluate:
- Home size and layout
- Insulation quality in walls and attic
- Number and type of windows
- Local climate conditions
- Number of people living in the home
We inspect your existing ductwork if you have central air conditioning. Leaky or poorly designed ducts can waste up to 30% of your cooling energy!
Our team checks for proper duct sizing and sealing. We also look for ducts running through unconditioned spaces like attics or crawl spaces.
This thorough inspection helps us recommend the right tonnage for your new air conditioning system. Getting the size wrong leads to higher energy bills and poor comfort.
Choosing Between Central Air, Ductless Mini-Split, or Other Systems
We help you pick the best air conditioning unit type based on your home's layout and your cooling needs.
Central air conditioning works well for homes with existing ductwork. This system cools your entire house through one outdoor unit and indoor air handler.
Central air benefits:
- Cools whole house evenly
- Works with existing ducts
- Quiet operation
- Good for larger homes
Ductless mini-split systems work better for homes without ducts or room additions. These systems have one outdoor unit connected to multiple indoor units.
Mini-split advantages:
- No ductwork needed
- Zone cooling control
- High energy efficiency
- Easy installation
We consider your budget, home age, and cooling preferences when making recommendations. Some homes benefit from hybrid systems that combine both technologies for maximum efficiency.
Preparing for Installation Day
Getting ready for your AC installation requires careful planning around site access and proper permits. These preparations ensure your HVAC technician can work efficiently and meet all manufacturer specifications.
Site Preparation and Access
Clear pathways are essential for your installation team. We need unobstructed access from the street to both your indoor and outdoor unit locations.
Move furniture, decorations, and personal items away from the installation areas. Your HVAC technician will need at least 3 feet of clearance around the indoor unit location.
For outdoor units, trim any bushes or vegetation within 2 feet of the installation site. Remove garden decorations, outdoor furniture, or storage items from the work area.
Protect your belongings by covering nearby items with plastic sheets or tarps. Professional installation teams bring protective materials, but securing your valuables gives extra peace of mind.
Ensure electrical panels are easily accessible. Installation crews need quick access to your home's main electrical panel and any sub-panels.
Pet safety is important on installation day. Keep dogs and cats in a secure room away from work areas. This protects your pets and lets technicians work without distractions.
Permits and Pre-Installation Planning
Building permits are typically required for new AC installations. We handle permit applications before installation day to avoid delays in your installation timeline.
Most municipalities require permits for:
- New electrical connections
- Ductwork modifications
- Refrigerant line installations
- Outdoor unit placement
Pre-installation inspections verify that your home meets manufacturer specifications. We check electrical capacity, ductwork conditions, and structural requirements during this phase.
Your installation timeline depends on permit approval times. Most permits take 2-5 business days to process, though complex installations may take longer.
Final preparations include confirming your installation appointment and ensuring someone over 18 will be home. We also verify that any special equipment or materials are ready for installation day.
Professional installation requires access to water and electricity throughout the work area. Test these utilities before your scheduled installation date.
Professional AC Installation Process
The installation process involves several key steps that require precision and expertise. Each phase builds on the previous one to create a complete cooling system for your home.
Removing Old Equipment and Ensuring Proper Disposal
We start by safely disconnecting your old air conditioning system from all power sources. This prevents electrical hazards during removal.
Our team carefully removes refrigerant from the old system using specialized recovery equipment. This step protects the environment and follows EPA regulations.
We disconnect the refrigerant lines and electrical connections from both the indoor and outdoor units. Each connection point gets properly sealed to prevent contamination.
The old condenser unit comes out first, followed by the indoor air handler or evaporator coil. We protect your floors and walls during this process.
We dispose of all old equipment according to local environmental laws. Many components get recycled, including metals and refrigerants.
Installing the Outdoor Condenser Unit
We select the best location for your new condenser unit based on airflow requirements and local codes. The spot needs proper clearance on all sides.
A concrete pad or mounting brackets provide a stable foundation. We ensure the unit sits level to prevent vibration and operating problems.
Our team positions the condenser away from bedrooms and neighbor properties to reduce noise. We also consider service access for future maintenance.
The unit gets secured to its mounting surface using manufacturer-approved hardware. This prevents movement during operation and severe weather.
We check that the condenser has adequate electrical supply nearby. The disconnect box gets installed within sight of the unit for safety.
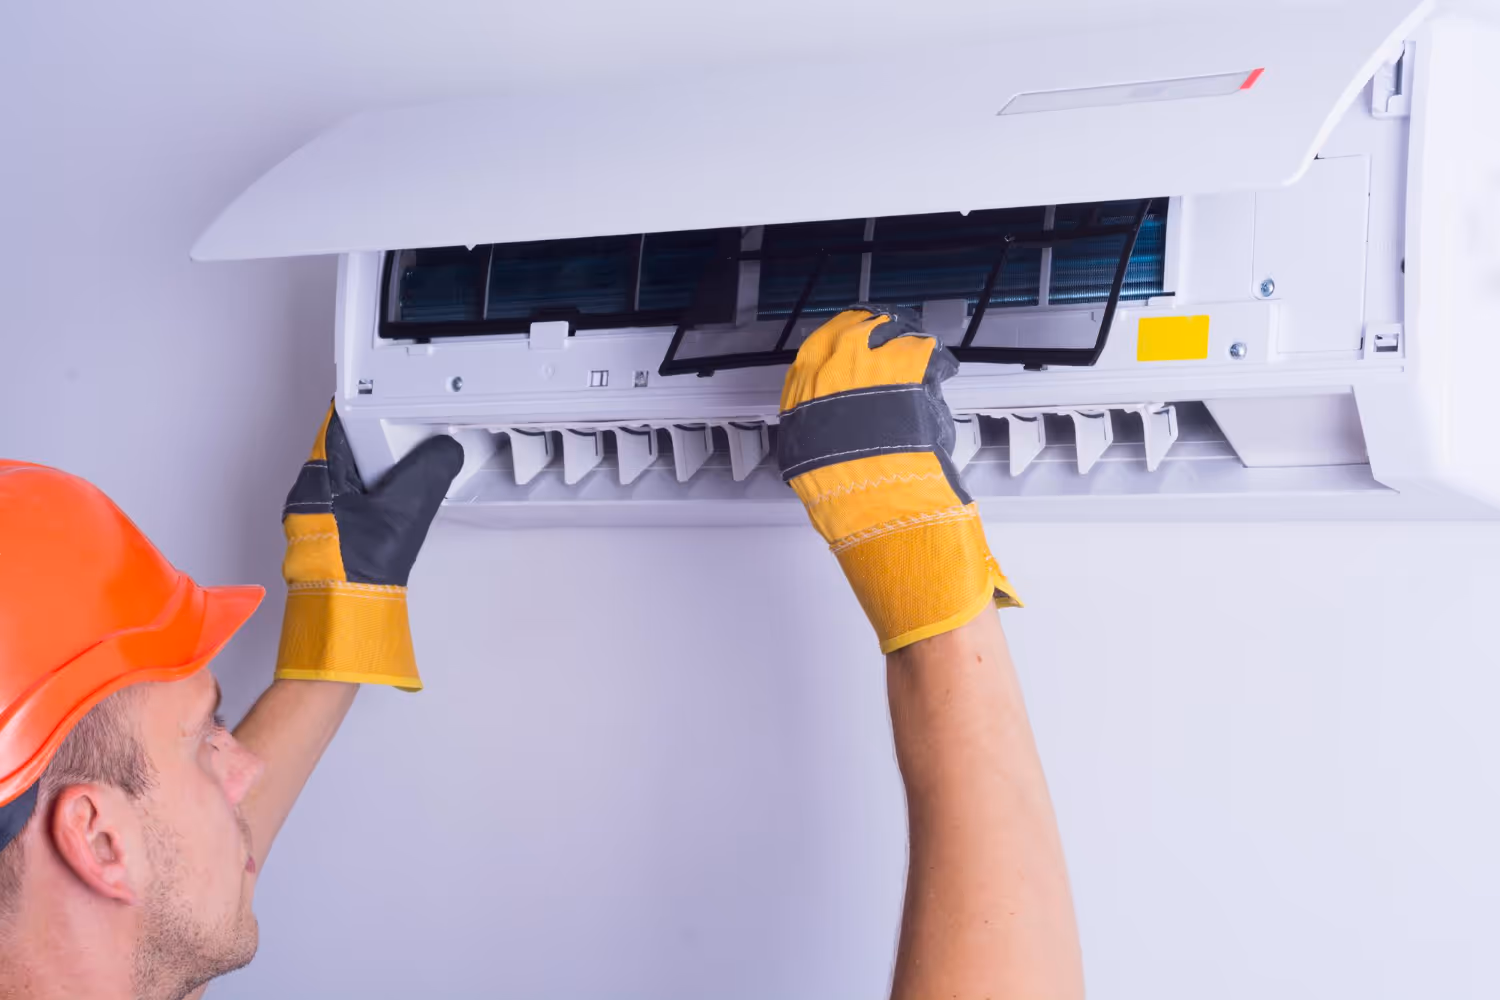
Setting Up the Air Handler and Indoor Components
The indoor air handler or evaporator coil goes in your chosen location, typically an attic, basement, or closet. We verify adequate space for service access.
We mount the unit securely to prevent vibration and ensure proper drainage. The condensate drain gets connected to an appropriate disposal location.
Ductwork connections get sealed properly to prevent air leaks. We use mastic sealant or metal tape, not standard duct tape.
The air filter housing gets positioned for easy access during regular maintenance. We show you how to change filters properly.
We install the thermostat in a central location away from direct sunlight and heat sources. The wiring runs back to the air handler through walls or conduit.
Connecting Refrigerant Lines and Electrical Connections
Refrigerant lines get sized according to your system's capacity and the distance between units. We use proper insulation to prevent energy loss.
We run copper lines through walls or outside your home, securing them every few feet. Sharp bends get avoided to maintain proper refrigerant flow.
All joints get brazed using nitrogen to prevent oxidation inside the lines. This creates strong, leak-free connections that last for years.
Electrical connections get made according to manufacturer specifications and local electrical codes. We use appropriate wire gauges for your system's power requirements.
We test all connections with meters before energizing the system. The electrical disconnect gets properly labeled for safety.
A final pressure test ensures no leaks exist before adding refrigerant. We evacuate the lines and charge the system to exact specifications.
System Testing, Calibration, and Smart Controls
Once your new AC system is installed, our technicians perform thorough system testing and calibration to ensure optimal performance. We verify all components work correctly and integrate smart controls for enhanced efficiency and comfort.
Checking Refrigerant Levels and Airflow
We start by measuring refrigerant levels throughout your air conditioning system. Our technicians use digital manifold gauges to check both high and low pressure readings.
Proper refrigerant levels are critical for efficient cooling. Too little refrigerant causes poor cooling performance. Too much refrigerant can damage the compressor.
We also test airflow at each vent using calibrated instruments. Our team measures:
- Static pressure in the ductwork
- Air velocity at supply registers
- Temperature differentials across the system
- Humidity levels throughout your home
These measurements help us identify any restrictions in the system. We adjust dampers and check for blocked ducts that could reduce airflow.
Thermostat Installation and Calibration
We install and calibrate your new thermostat according to manufacturer specifications. Smart thermostats require additional setup steps compared to basic models.
Our technicians connect the thermostat to your home's Wi-Fi network. We download the manufacturer's app and create your account. This allows remote control of your system.
Smart thermostat features we configure:
- Learning algorithms for your schedule
- Geofencing for automatic adjustments
- Energy usage tracking and reports
- Integration with voice assistants
- Maintenance reminders and alerts
We calibrate temperature sensors to ensure accuracy within one degree. The thermostat must read room temperature correctly for proper system operation.
Verifying System Function and Manufacturer Specifications
Our final testing phase involves running complete system cycles. We test both heating and cooling modes to verify proper operation.
We check that your system meets all manufacturer performance specifications. This includes:
Component
Test Parameters
Compressor
Amp draw, pressure ratios
Blower motor
RPM, airflow volume
Heat exchanger
Temperature rise/drop
Safety controls
High/low pressure cutoffs
We run the system through multiple cycles while monitoring performance data. Any issues are corrected before we complete the installation.
Our technicians also test all safety features and emergency shutoffs. We ensure the system responds correctly to various operating conditions and potential fault scenarios.
Walkthrough, Maintenance, and Clean-Up
After your AC installation is complete, our team provides comprehensive customer education about your new system and shares essential maintenance tips to maximize energy savings and system longevity. We also ensure your property is left clean and organized.
Customer Education and Warranty Explanation
Our technicians walk you through your new HVAC system step by step. We explain how each component works and show you the location of important parts.
You'll learn how to operate your thermostat properly. We demonstrate different settings and explain which options save the most energy.
Key warranty information includes:
- Coverage period and what's included
- Required maintenance to keep warranty valid
- How to file warranty claims
- Contact information for service
We provide all warranty documentation in writing. Our team answers any questions about coverage limits or service requirements.
You'll receive a complete overview of your system's features. We explain any special functions or energy-saving modes your unit offers.
Maintenance Tips for Longevity and Energy Savings
Regular maintenance keeps your HVAC system running efficiently and saves money on energy bills. We share specific tips tailored to your new system.
Essential maintenance tasks include:
- Change air filters every 1-3 months
- Keep outdoor unit clear of debris
- Schedule annual professional tune-ups
- Clean air vents regularly
- Check thermostat batteries twice yearly
Dirty filters reduce airflow and force your system to work harder. This increases energy costs and shortens equipment life.
We recommend setting your thermostat 7-10 degrees higher when away from home. This simple change can reduce cooling costs by up to 10% annually.
Professional maintenance catches small problems before they become expensive repairs. Annual service visits help maintain your warranty and system efficiency.
Final Clean-Up and Departure
Our installation team removes all debris and packaging materials from your property. We vacuum work areas and wipe down surfaces that were touched during installation.
Old equipment and materials are hauled away unless you request to keep them. We dispose of refrigerants and components according to environmental regulations.
All tools and equipment are removed from your home. We check that work areas match their original condition before installation began.
You'll receive final paperwork including installation certificates and service contact information. Our team confirms you're satisfied with the installation before departing.
We provide our service number for any questions or concerns after installation. Follow-up communication ensures your complete satisfaction with our professional AC installation service.
.png)


